What is cPanel?
cPanel is a control panel for web hosting. It provides a user interface and automation tools designed to simplify hosting a website. Thus, It makes the management of a hosting web server easy.
What is HostBilling?
HostBilling is a Web Hosting Billing & Automation Software. It automates the whole process of managing a web hosting business & web agency to increase their business efficiency. HostBilling is carefully designed for web agencies to reach their highest potential by giving more time to create than on mundane routine tasks related to managing web hostings.
Key Features of the Integration
Automatic cPanel Account Provisioning
The manual process of setting up a web hosting account is time-consuming and so boring. With HostBilling, you will not have to worry about setting up web hosting accounts manually ever again. With the built-in cPanel Module of HostBilling, you can create accounts automatically right from the backend.
cPanel/WHM Account Importer
Importing WHM Account in HostBilling is super simple. This feature will help you to have better control over your servers.
Automatic Account Suspension & Reactivation
What a relief you will get when you can suspend clients automatically when invoices are overdue and unsuspend again automatically when their balance is paid.
Creating Hosting Servers with HostBilling
To create hosting accounts directly from the HostBilling backend, you need to add Servers.
To add a new Server, go to Services -> Servers.
Then click New Server Button. The system will ask to choose the server type.
After selecting the server type, you will be directed to the next page to enter more information, such as host/IP, API credentials.
cPanel
If you choose cPanel, it will ask you to input the following fields-
Name: Give a name for this Server to identify it later.
Host: Enter the Hostname of your Server, do not include the port number here. It should be FQDN (Fully Qualified Domain Name). For example- whm.example.com
Username: Your reseller username or root
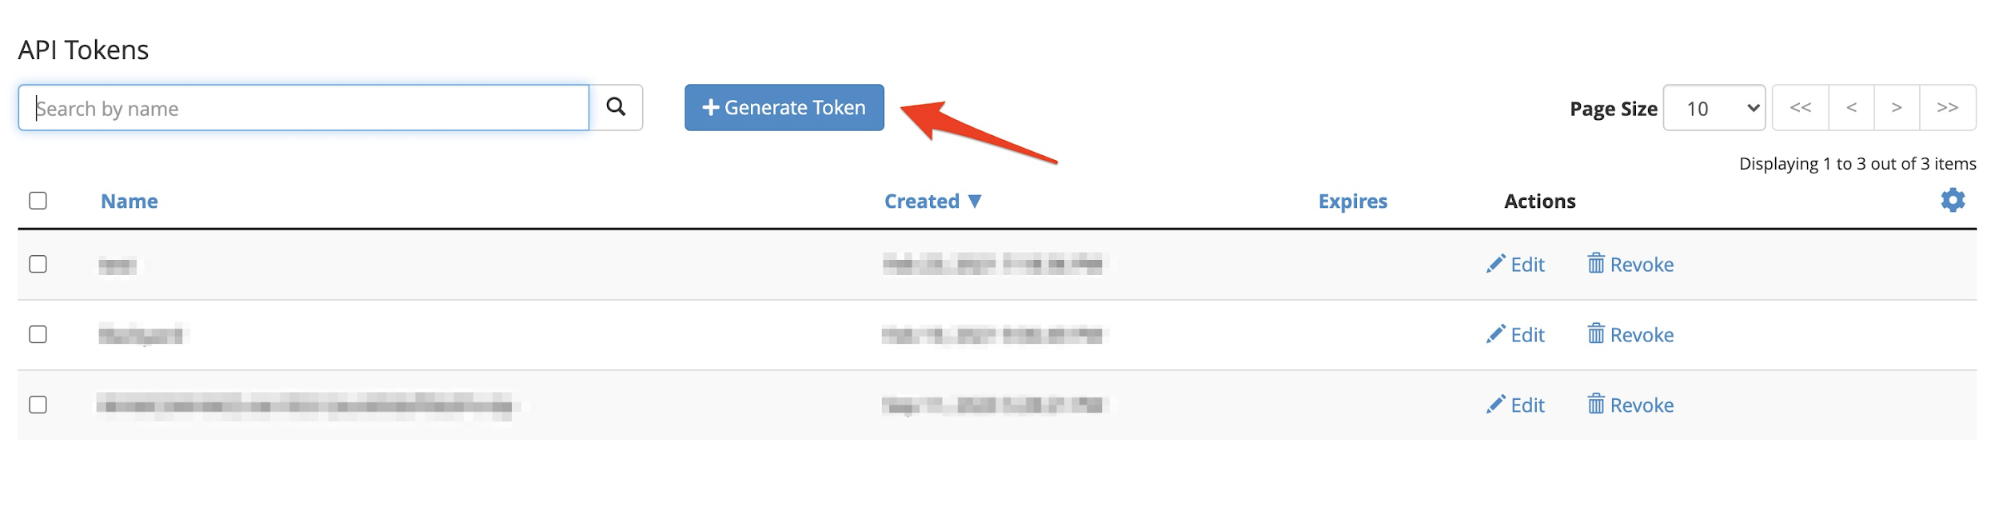
API Token: Go to "Manage API Tokens" in your WHM.
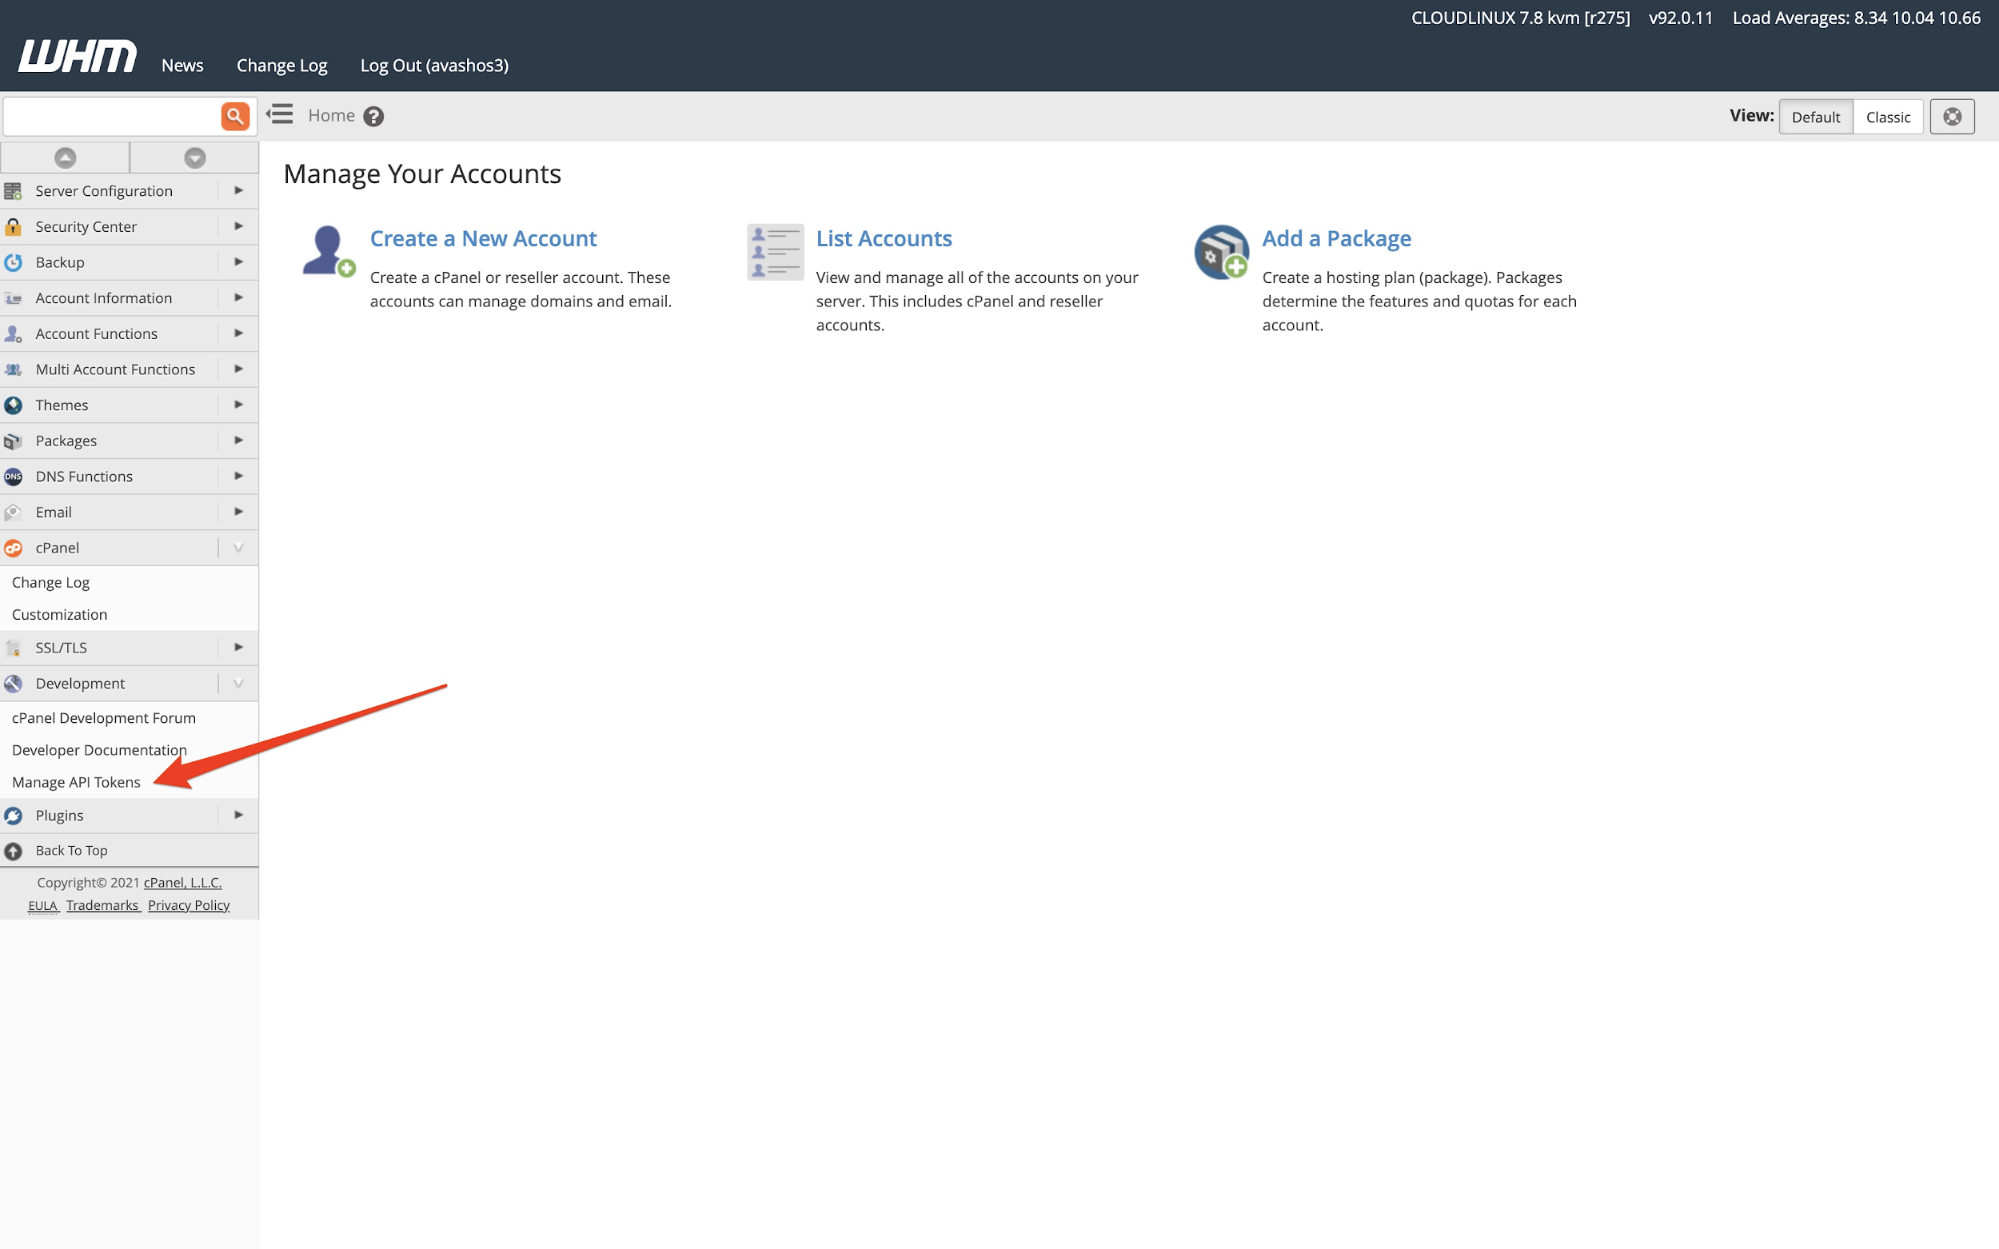
And generate a New API Token. Copy the API Token and add this here.
Click Save.
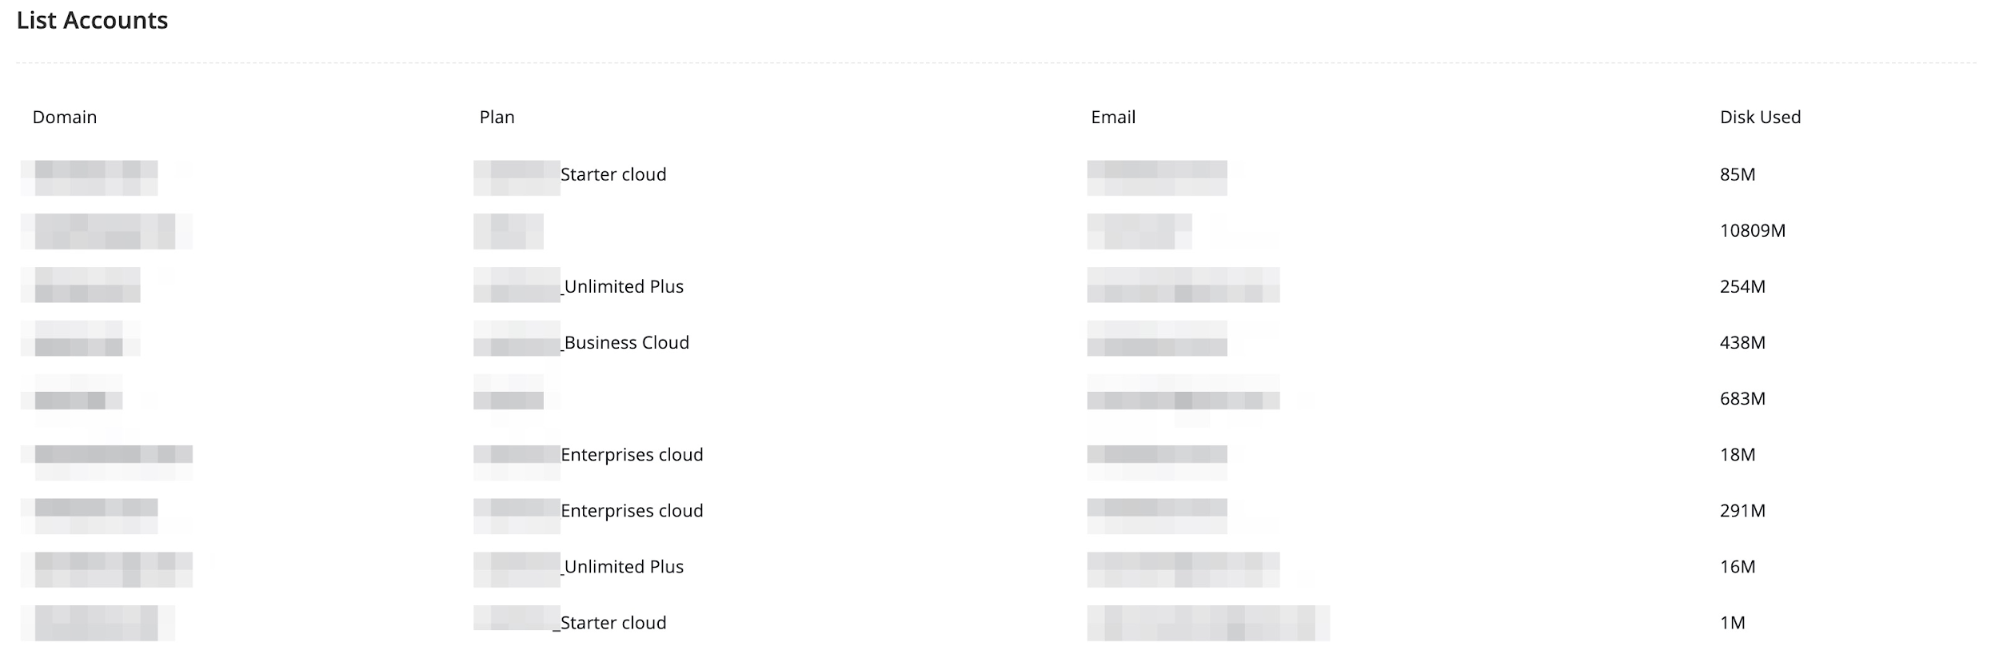
After saving the Server, it will show on your Server List. To test if the API is working, click on the "List Accounts". It should show the list of accounts on your Server.
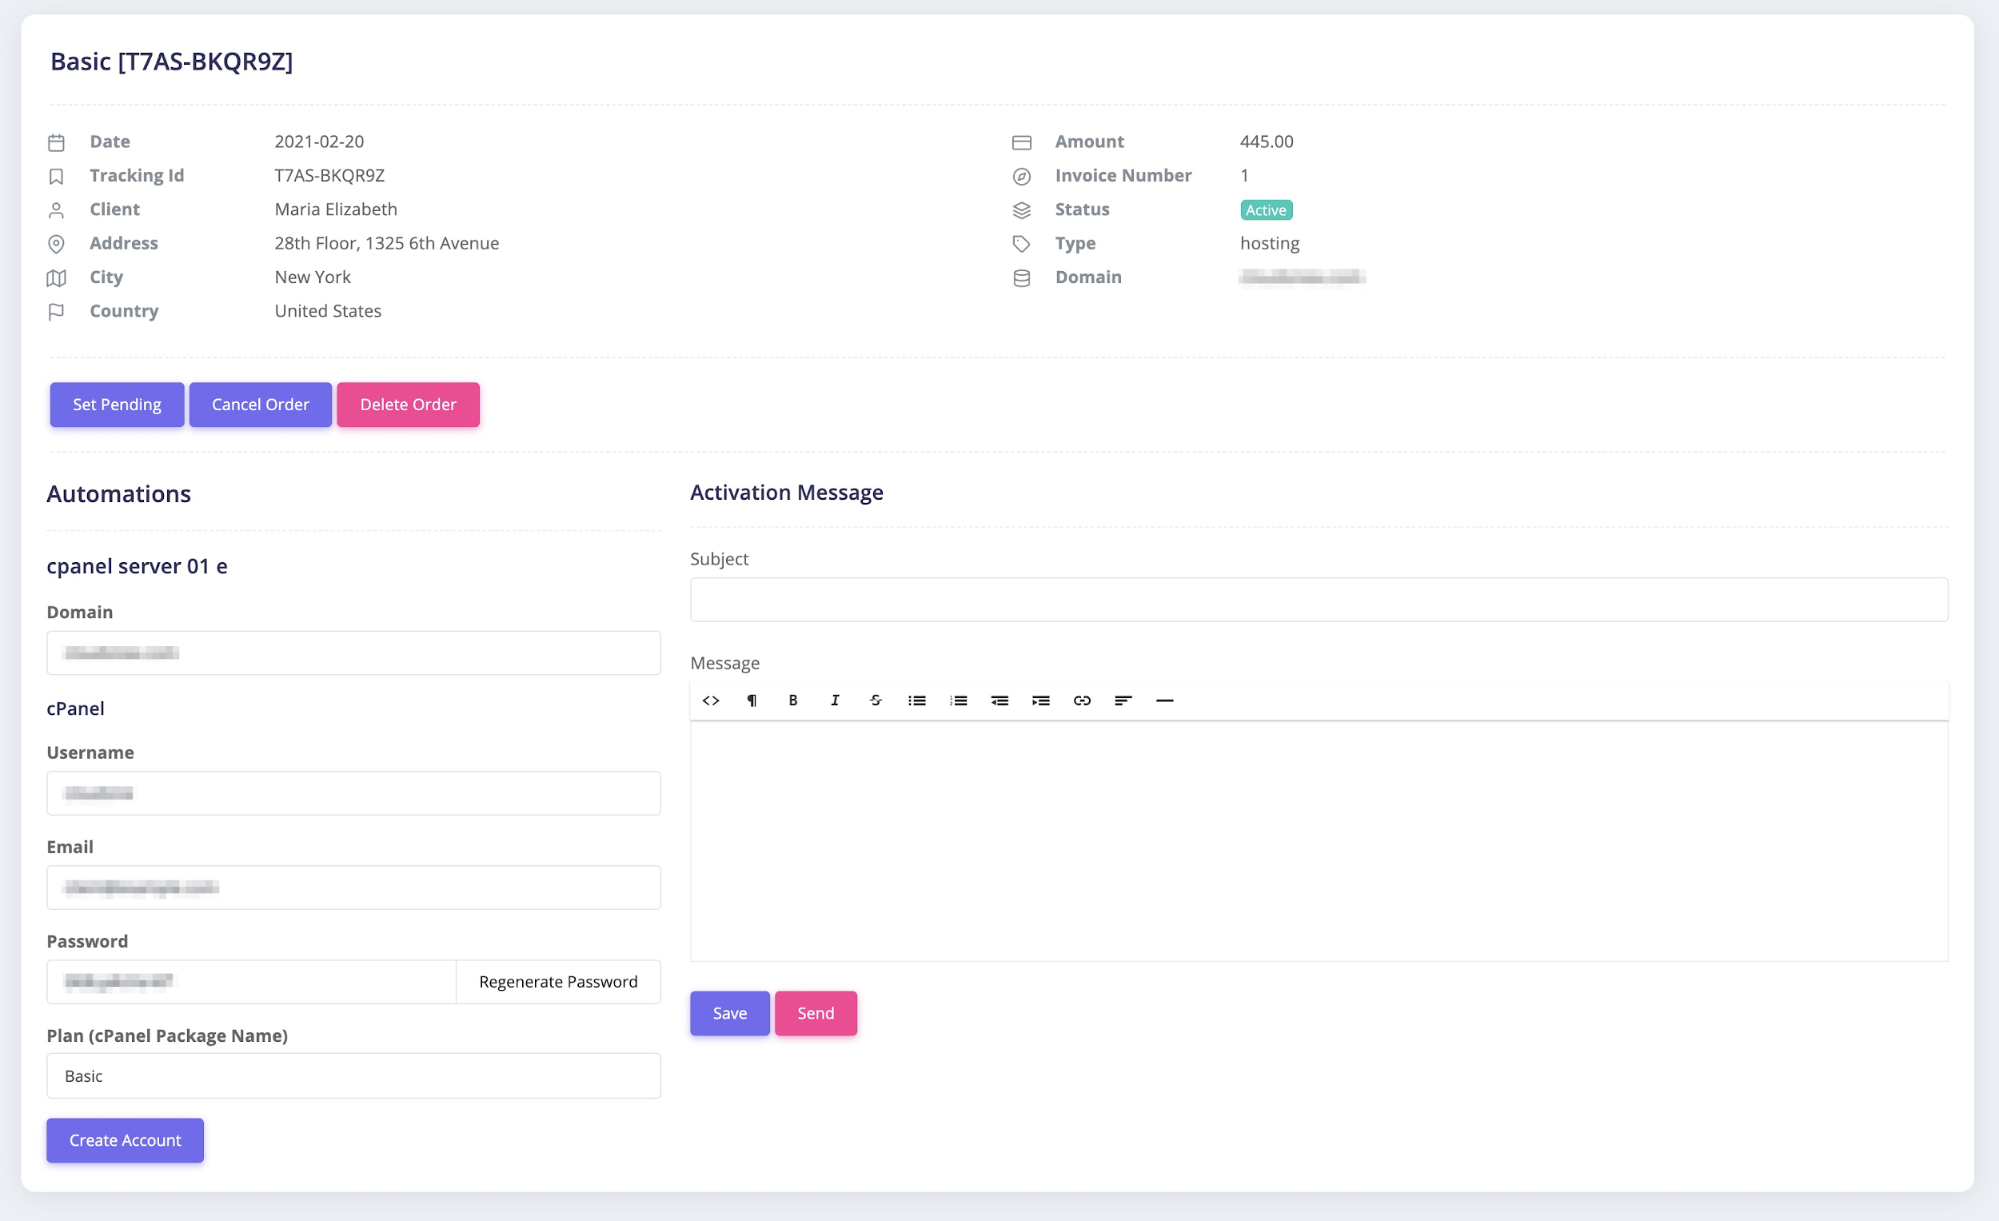
Creating the Hosting Account using cPanel for an Order.
Once the cPanel server is configured, you will see a "Create Account" button on the Order View page.
It will show the following fields-
Domain: The domain name, which was input when the customer placed the order. If any modification is needed, you can do it from here.
Username: The system will generate a username based on the domain name. However, you are free to change it.
Password: It will generate a random password. You can click on the "Regenerate Password" to regenerate again or manually add this password.
Email: It will show the customer's email address.
Plan: The plan name should match the plan/package name available in your Web Host Manager.